Photographing the world from a small aircraft offers a perspective few people ever experience. From dramatic coastlines and winding rivers to city skylines and mountain ranges, aerial photography combines the technical challenge of aviation with the creativity of photography. Whether you are flying in a Cessna 172, Piper Cherokee, Tecnam, helicopter or open-door aircraft, taking quality images from the air requires planning, communication and an understanding of how aircraft movement affects your camera.
Unlike photography on the ground, aerial photography introduces vibration, changing light angles, reflections, weather considerations and constantly moving subjects. However, with the right preparation and techniques, even a short local scenic flight can produce stunning professional-quality images.
Planning the Flight
Good aerial photography starts before the engine is even started. Planning the route, weather, lighting and timing will have a bigger impact on the final images than almost any camera setting.
Choosing The Right Time Of Day
The best aerial images are usually captured during the golden hours shortly after sunrise or before sunset. At these times, the light is softer, shadows are longer and the landscape has more depth and texture. Much the same as ground based landscape photography, the midday sun can create harsh lighting, washed-out colours and strong glare from water or aircraft windows.
Morning flights often provide smoother air conditions as well, particularly during warmer months when afternoon thermals can increase turbulence.
Consider the Weather Carefully
Clear blue skies are not always ideal for aerial photography. Slight haze can soften the horizon, while scattered cloud can add drama and depth to the scene. However, heavy haze, smoke or low cloud can quickly reduce visibility and image quality.
Look for:
- Good visibility
- Calm or light wind conditions
- Broken cloud for texture
- Low humidity where possible
- Early morning stability
Turbulence affects both comfort and sharpness. Even small bumps can make long focal length photography difficult.
Plan the Route around the Sun
The position of the sun changes everything. If possible, plan the flight so the sun sits behind or to the side of the aircraft relative to your subject. Shooting directly into the sun can create heavy glare and reflections, especially through windows.
For coastal photography, side lighting often works best because it highlights waves, cliffs and shoreline textures. You will likely be sitting on the right hand side of the aircraft, so for coastal photography in New South Wales, it may be better to fly in a southerly direction along the coast allowing the morning sun to light the beaches and headlands.
Choosing the Right Aircraft
Not all aircraft are equally suited to photography.
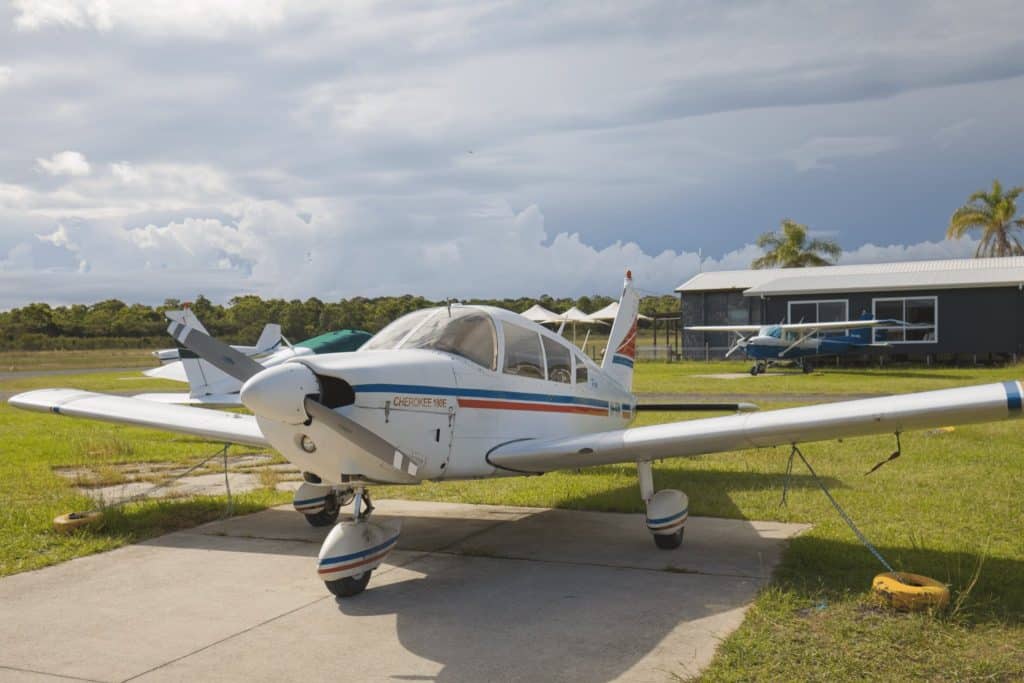
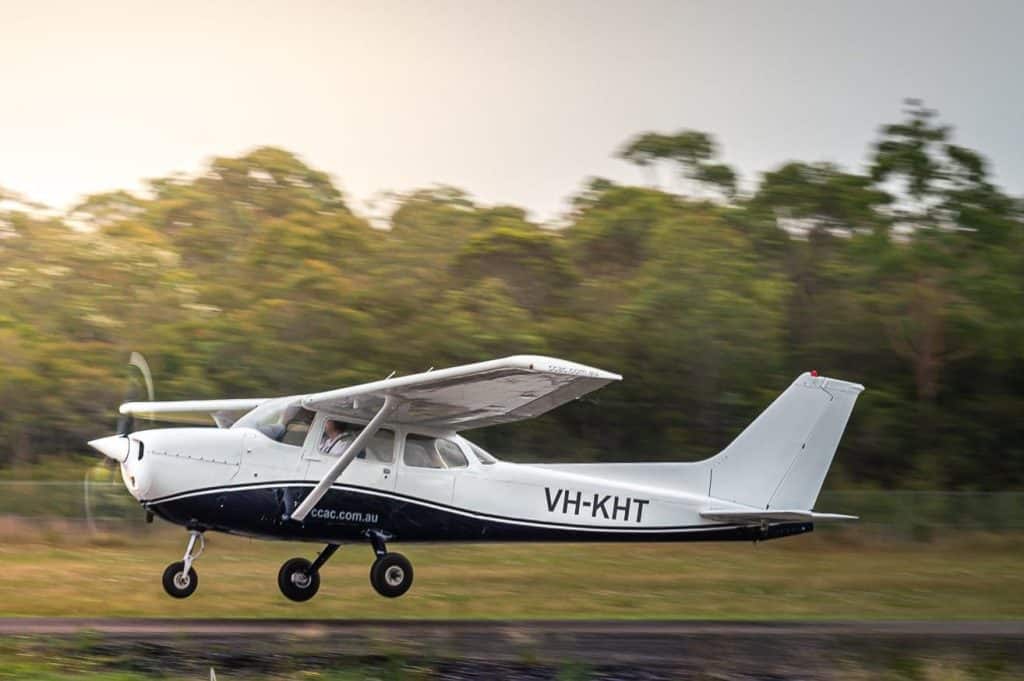
High-wing aircraft such as the Cessna 172 are often preferred because the wing sits above the cabin, giving a clearer downward view. Low-wing aircraft like a Piper Cherokee can still work very well, particularly for side-on scenic shots, but wing positioning can limit some viewing angles.
Discuss your photography goals with the pilot beforehand so seating position, routing and turns can be planned appropriately.
Flight Types for Aerial Photography
There are a number of different flight options available for aerial photography, depending on the type of images you are hoping to capture and the overall experience you are looking for. Scenic flights are often the most popular starting point, providing an opportunity to photograph coastlines, beaches, lakes, city skylines and mountain ranges while simply enjoying the experience of flying. These flights are ideal for photographers wanting a relaxed introduction to aerial photography or for passengers looking to capture memorable images during a scenic tour of the region.
Dedicated aerial photography flights can also be arranged where the flight is specifically planned around photographic objectives. These flights allow more flexibility with routing, altitude, aircraft positioning and timing, giving photographers greater opportunities to capture particular landmarks, lighting conditions or compositions. Sunrise and sunset flights are especially popular because of the softer light, longer shadows and warmer colours available during the golden hours of the day.
For more advanced photographers, specialised operations such as formation photography and air-to-air photography may also be possible under approved operational procedures. These flights can involve photographing another aircraft in flight and require additional planning, safety considerations and coordination between pilots. The Central Coast Aero Club can discuss the various options available and help tailor a flight to suit both the experience level of the photographer and the type of imagery they are hoping to capture.
Shooting Through Aircraft Windows
Most aerial photography from small aircraft occurs through windows, and windows create challenges.
Reduce Reflections
Wear dark clothing where possible because bright shirts can reflect into the window. Avoid placing the camera lens directly against the acrylic or glass, as vibration can transfer into the camera.
A rubber lens hood can sometimes help reduce reflections.
Keep the Window Clean
Even small smudges become obvious at altitude. Cleaning the inside and outside of the window before flight can dramatically improve image quality.
Shoot at Slight Angles
Shooting perpendicular to the window can increase reflections. Slightly changing your angle often improves contrast and clarity.
Propeller Considerations
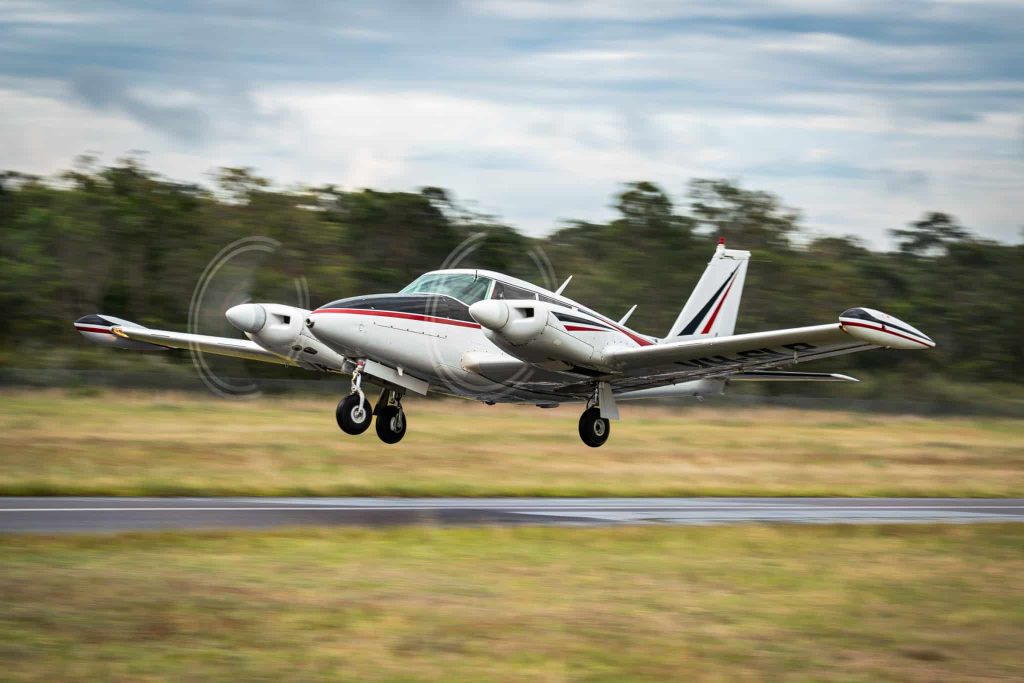
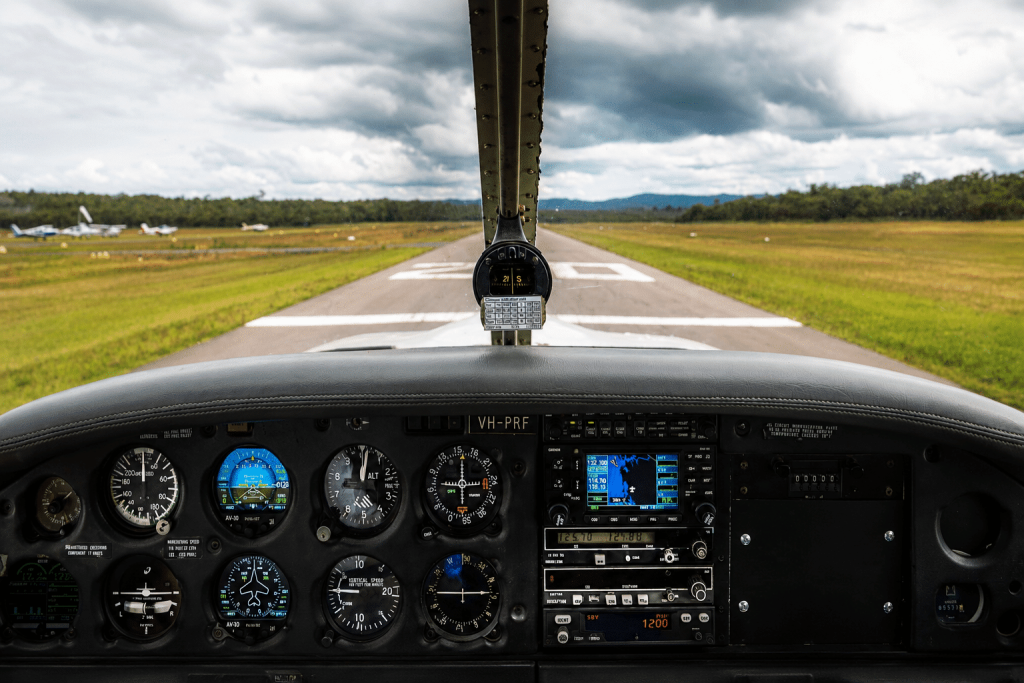
Shooting through the propeller in the case of a landing shot for example has its own set of unique challenges. Firstly, a frozen propeller is not what most people want in their photo so shutter speeds need to be reduced in order to blur the propeller whilst still being fast enough to offset any vibrations that may be present. Setting your shutter speed somewhere between 1/100 and 1/200 of a second is generally a good ballpark figure. You will of course need to adjust your aperture accordingly. If it is a really bright day, an ND (neutral density) filter may be a good option allowing you to keep a similar aperture as you would at 1/1000 of a second. Realistically however, most photography will be done through the side window.
Open Window Photography
Photography with the window open is obviously the best option as it removes the need to shoot through the window. The Central Coast Aero Club has approval for “aerial work” as defined in “CASR Part 131 – Aerial Work Operations”. You are permitted to shoot with your camera partially outside the window in accordance with our operation manual however it must be tethered correctly. Feel free to discuss the options with us directly and we would be more than happy to advise what can be done.
Camera Equipment for Aerial Photography
One of the biggest misconceptions about aerial photography is that you need extremely expensive gear. In reality, technique and preparation are often more important than having the latest camera body.
Camera Bodies
Modern mirrorless and DSLR cameras perform very well for aerial photography because they allow fast shutter speeds, RAW image capture and flexible lens choices.
Important features include:
- Fast autofocus
- Good low-light performance
- Image stabilisation
- RAW shooting support
Even many modern smartphones can produce impressive aerial images when conditions are good.
Best Lens Choices
Lens selection depends on the type of images you want to capture.
Wide-Angle Lenses
Wide-angle lenses are particularly well suited to aerial photography because they allow photographers to capture expansive landscapes and large sweeping scenes from above. They work exceptionally well for photographing coastlines, mountain ranges, cityscapes and cockpit perspective shots where you want to include both the aircraft interior and the scenery outside. A focal range between 16mm and 35mm is generally considered extremely versatile, providing a broad field of view while still maintaining good image quality and composition flexibility.
Mid-Range Zooms
A mid-range zoom lens such as a 24–105mm is often considered one of the most versatile options for aerial photography. It provides enough width for capturing larger landscapes and coastlines while also offering sufficient zoom to isolate smaller details without needing to constantly change lenses during flight. In the confined space of a small aircraft, minimising lens changes is not only more convenient but also reduces the risk of dropping equipment or introducing dust onto the camera sensor.
Telephoto Lenses
Telephoto lenses can produce impressive results by isolating subjects such as boats, buildings, headlands or distant mountain ridges. However, longer focal lengths also magnify aircraft vibration, turbulence and movement, making it significantly more difficult to maintain image sharpness, particularly in less stable conditions.
Regardless of the focal length you choose, it is often beneficial to capture images somewhat wider than required and then crop them during post-processing. Modern editing applications such as Adobe Lightroom and ON1 Photo RAW provide powerful tools for cropping, dehaze adjustments, contrast enhancement and general image refinement, allowing photographers greater flexibility when fine-tuning the final composition after the flight.
Recommended Camera Settings
Aircraft vibration and movement make camera settings particularly important during aerial photography, with shutter speed playing one of the biggest roles in achieving sharp images. When photographing through the side window, which is the most common method in small aircraft, a shutter speed of around 1/1000 second or faster is a good starting point. This helps minimise blur caused by aircraft vibration, turbulence and ground movement below.
If photographing through the front windscreen, particularly in a single-engine aircraft where the propeller may be visible, slower shutter speeds around 1/100 to 1/200 second can produce more natural-looking images by allowing some propeller blur rather than freezing the propeller completely. This technique requires a careful balance between shutter speed and vibration control and is discussed further below.
Aperture settings around f/5.6 to f/8 generally work well for aerial photography, providing a good balance between sharpness and depth of field (DOF). These settings typically allow enough of the landscape to remain in focus while still permitting sufficiently fast shutter speeds.
ISO settings may need to increase depending on lighting conditions and the shutter speed required. It is usually better to accept a small amount of image noise rather than end up with motion blur from a shutter speed that is too slow. Modern cameras perform surprisingly well at ISO 800–3200, and while some grain may become visible at higher settings, post-processing software can often reduce noise far more effectively than it can correct a blurred image.
Whenever possible, shooting in RAW format is highly recommended. RAW files retain significantly more image information than JPEG files, allowing greater flexibility when adjusting exposure, recovering highlights and shadows, correcting colours and refining the final image during editing.
Ultimately, there is no single perfect camera setting for aerial photography, as conditions constantly change depending on weather, lighting, altitude and the type of image you are trying to capture. Aperture Priority mode often works very well because it allows you to control the depth of field while the camera automatically adjusts shutter speed and ISO to maintain proper exposure. Many photographers also prefer to manually set both aperture and shutter speed while allowing ISO to adjust automatically, which can provide an excellent balance between creative control and flexibility in changing conditions.
Communicating With the Pilot
Communication between the photographer and pilot plays a major role in capturing successful aerial images. Before departure, it is worth discussing the locations you would like to photograph, the types of angles you are hoping to achieve and any particular landmarks or compositions you want to focus on during the flight. Pilots experienced with photography flights understand how aircraft positioning, lighting and timing affect the final image, and they can often help create better opportunities for composition. Gentle banking turns are particularly useful, as they allow the subject to remain visible for longer while also improving the viewing angle for the camera. Allowing time for repositioning or additional passes over a location can also make a significant difference to the quality of the final photographs.
Composition Techniques From the Air
Aerial photography changes how composition works because scale becomes enormous.
Look for Patterns and Shapes
Some of the best aerial images focus on:
- River systems
- Roads
- Waves
- Agricultural patterns
- Beaches
- Mountain ridges
- Urban geometry
The aerial perspective naturally reveals shapes and textures that are invisible from the ground.
Include Foreground Elements
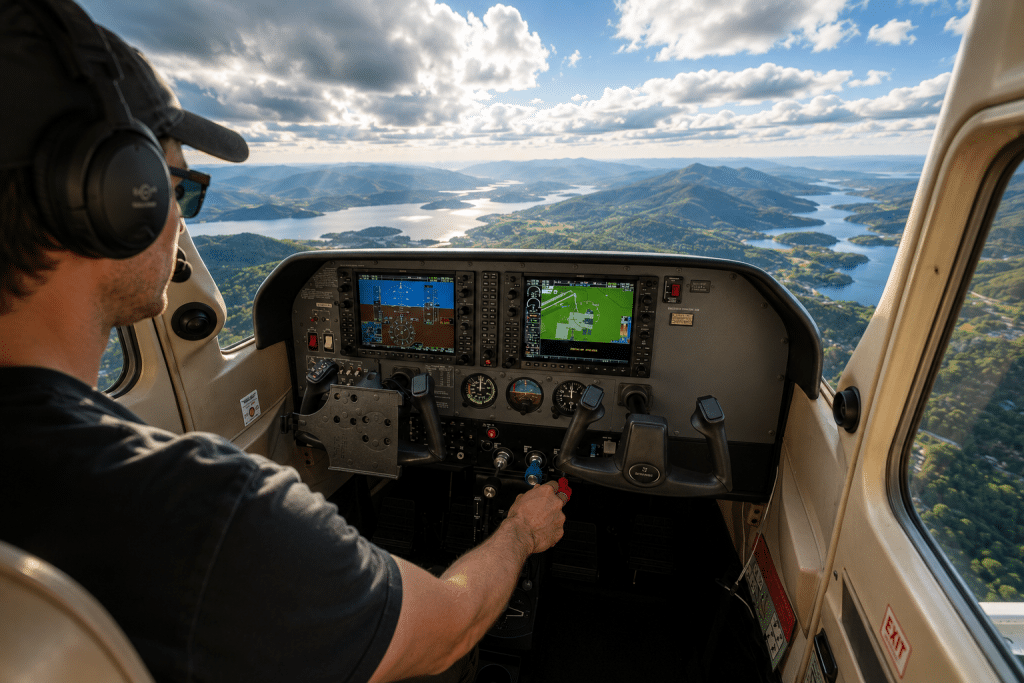
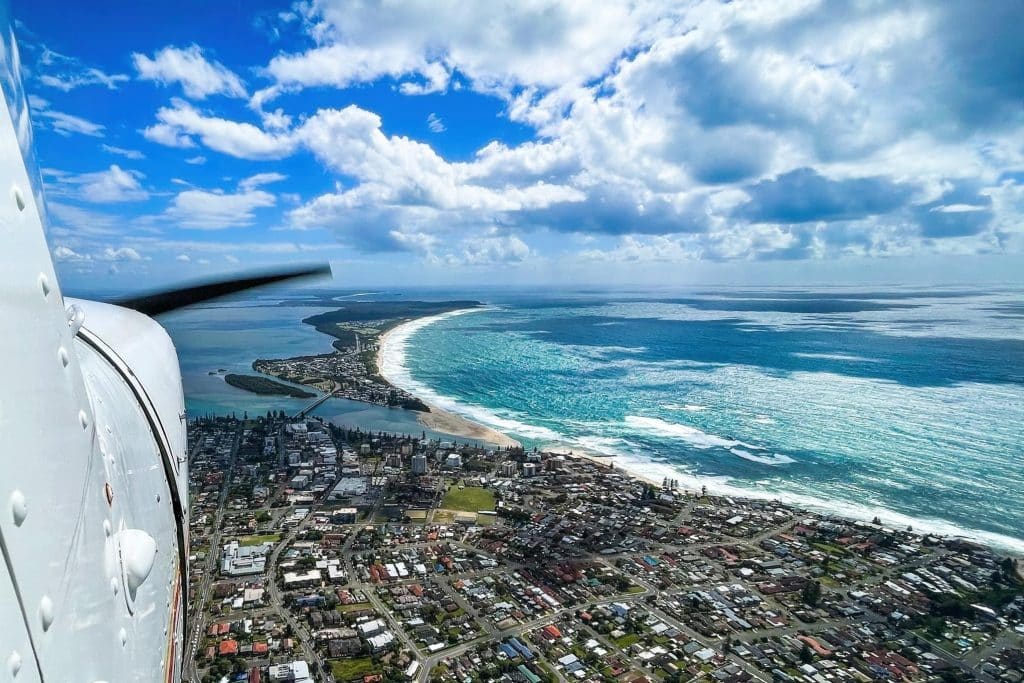
Including part of the aircraft such as the wing, strut or cockpit can help provide context and scale and this is where correct aperture settings are so important. Do you want the wing or strut to be in focus or blurred compared to the background.
Use Leading Lines
Roads, coastlines and rivers create strong leading lines that guide the viewer’s eye through the image.
Managing Motion and Turbulence
Small aircraft are constantly moving, even in relatively smooth air, which can make achieving perfectly sharp images more challenging than many photographers expect. Using image stabilisation where available can help reduce the effects of vibration, while keeping your elbows tucked in and lightly bracing yourself against the seat can provide additional stability during flight. Smooth, controlled movements are important, as sudden repositioning can make it harder to maintain framing and sharpness.
Safety Considerations
Safety and the operation of the aircraft must always take priority during aerial photography flights, and it is important to follow all instructions provided by the pilot at all times. Before departure, you will receive a briefing covering the flight plan, safety procedures and emergency information so that you understand what to expect during the flight.
Inside a small aircraft, space is often far more limited than many people anticipate, particularly when using camera equipment. Cameras, lenses and straps should always be secured, as loose items can become hazardous during turbulence or manoeuvring. During critical phases of flight such as take-off, landing or periods of high radio activity, it is important not to distract the pilot so they can maintain full focus on operating the aircraft safely.
If flying with windows open, camera equipment should also be fitted with appropriate tethers to prevent accidental loss or damage. As passengers are often seated in a control seat equipped with rudder pedals and a control yoke, care must be taken at all times to avoid accidentally contacting the flight controls while repositioning or turning to capture photographs.
Coastal and Scenic Flight Photography
Coastal flying provides some of the most visually striking opportunities for aerial photography.
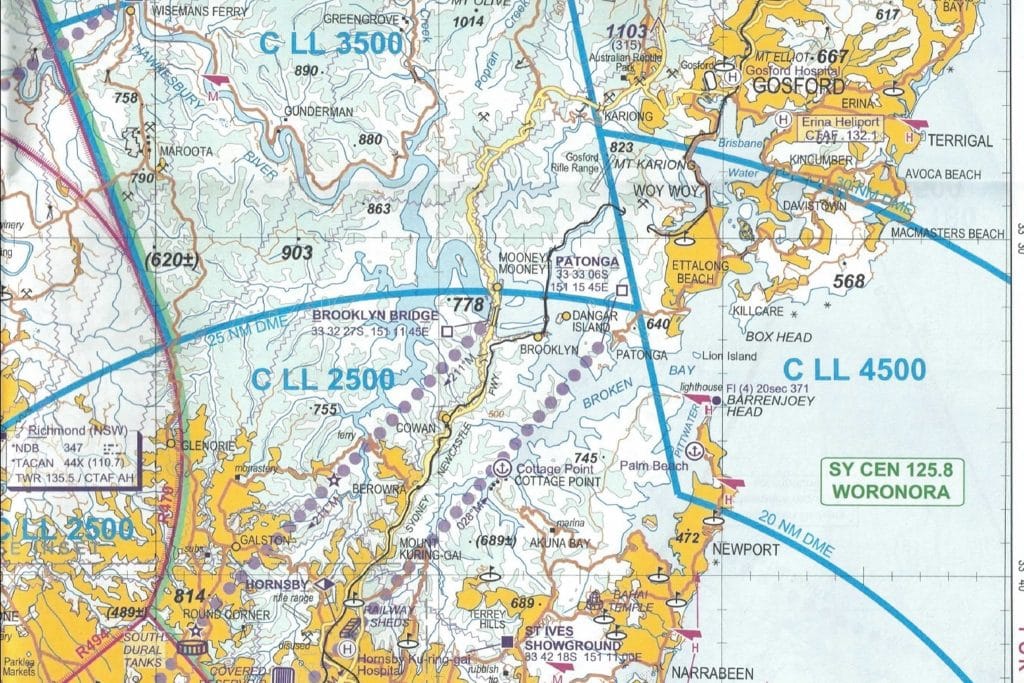
Beaches, headlands, lakes and harbours often look best from around 1500 to 3500 feet depending on the scene and airspace restrictions.
Early morning coastal flights can produce:
- Calm water reflections
- Long shadows
- Rich colours
- Better visibility
- Reduced atmospheric haze
Popular subjects include:
- Sydney Harbour
- The Central Coast
- Newcastle coastline
- Lake Macquarie
- Mountain ranges
- River systems
Editing Aerial Images
Post-processing plays an important role in aerial photography, helping photographers refine images and recover detail that can sometimes be reduced by atmospheric haze, reflections or changing light conditions. Popular editing programs include Adobe Lightroom and ON1 Photo RAW, although the best software is ultimately the one that suits your personal workflow and editing style.
Common adjustments during aerial photo editing include dehaze corrections, contrast enhancement, highlight recovery, colour balancing, horizon alignment and selective sharpening. Because aerial images are often affected by haze and softer contrast at distance, careful adjustments can help restore depth, clarity and definition throughout the scene.
While editing can significantly improve an image, it is important not to over-process photographs. Natural colours, balanced contrast and realistic tones generally produce more timeless and visually appealing results, particularly when showcasing landscapes and scenic environments from the air.
Smartphone Aerial Photography
Modern smartphones have become surprisingly capable for aerial photography.
To improve results:
- Clean the lens thoroughly
- Use burst mode
- Tap to expose correctly
- Avoid digital zoom
- Shoot during good lighting
- Stabilise the phone carefully
Phones work particularly well for social media content and scenic landscape images.
Final Thoughts
Aerial photography from a small aircraft combines aviation knowledge, timing, weather awareness and photographic creativity to produce images that simply cannot be captured from the ground. While great equipment certainly helps, the most successful aerial photographs usually come from careful planning, good communication and an understanding of how light, weather and aircraft positioning all work together.
Every flight offers something different. Light changes constantly, weather conditions evolve and familiar landscapes can look completely transformed depending on the altitude, season and time of day. With experience, photographers begin to recognise the patterns, textures and unique perspectives that only become visible from above, turning even familiar locations into striking photographic subjects.